Form DS-160, Explained
How to file an online application for a temporary U.S. visa
What is Form DS-160?
Form DS-160 also called the Online Nonimmigrant Visa Application, is an online form used to apply for temporary U.S. visas including the B-1/B-2 visitor visas, and also for K (fiancé(e)) visas. The electronic form collects personal, educational, professional, and other information (such as your passport number).
The DS-160 form is an essential part of the visa application process because it provides the U.S. Department of State with the necessary information to determine whether or not an applicant is eligible for a nonimmigrant visa. It’s important that it is completed correctly.
DS-160 fee
Though there is no cost to file the DS-160, you still have to pay the fees for the specific visa for which you’re applying.
- For most non-petition-based nonimmigrant visas, such as tourist, business, or TN visas, the fee is $185.
- For petition-based visas, the fee is typically $190.
These fees vary depending on the type of visa, so be sure to check which fees apply to your specific situation.
DS-160 processing time
There is no processing time for Form DS-160. Once you’re done filling it out online, you simply print the confirmation page and bring that with you to your visa interview.
If the application is approved during the interview, the average processing time for Tourism and Visitor visas is 7-10 working days, plus time for delivery.
Who needs to complete Form DS-160?
Everyone who plans to visit the United States on a temporary visa, such as the B1/B2 visitor visa, or who is coming to the United States on a K-1 visa in order to get married, must complete and file Form DS 160. Mexican citizens applying for a TN visa also need to fill out and submit Form DS-160 (Canadian citizens applying for a TN visa do not need to file the DS-160).
Each visitor, including a child, needs their own DS-160. If an applicant is aged 16 or younger, or is physically unable to complete the form themselves, they can be helped by a third party. That person must be identified at the end of Form DS-160, on the “Sign and Submit” page.
Required documents
In order to complete Form DS-160, you will need your:
- Passport
- Travel itinerary
- National ID number issued by your home country
- Social Security number or U.S. Taxpayer ID if you have one
You will also need access to your travel and employment history, as well as simple biographical information about your family members and travel companions.
If you’re coming to the United States to study, you will need a copy of your SEVIS ID, which you can find on your I-20 or DS-2019, along with the address of the school or college you’ll be attending. Temporary workers should keep a copy of their I-129 handy if they have one.
Finally, you will need a recent photograph that meets U.S. government guidelines saved digitally on the computer you’ll use to complete the form.
How to fill out Form DS-160
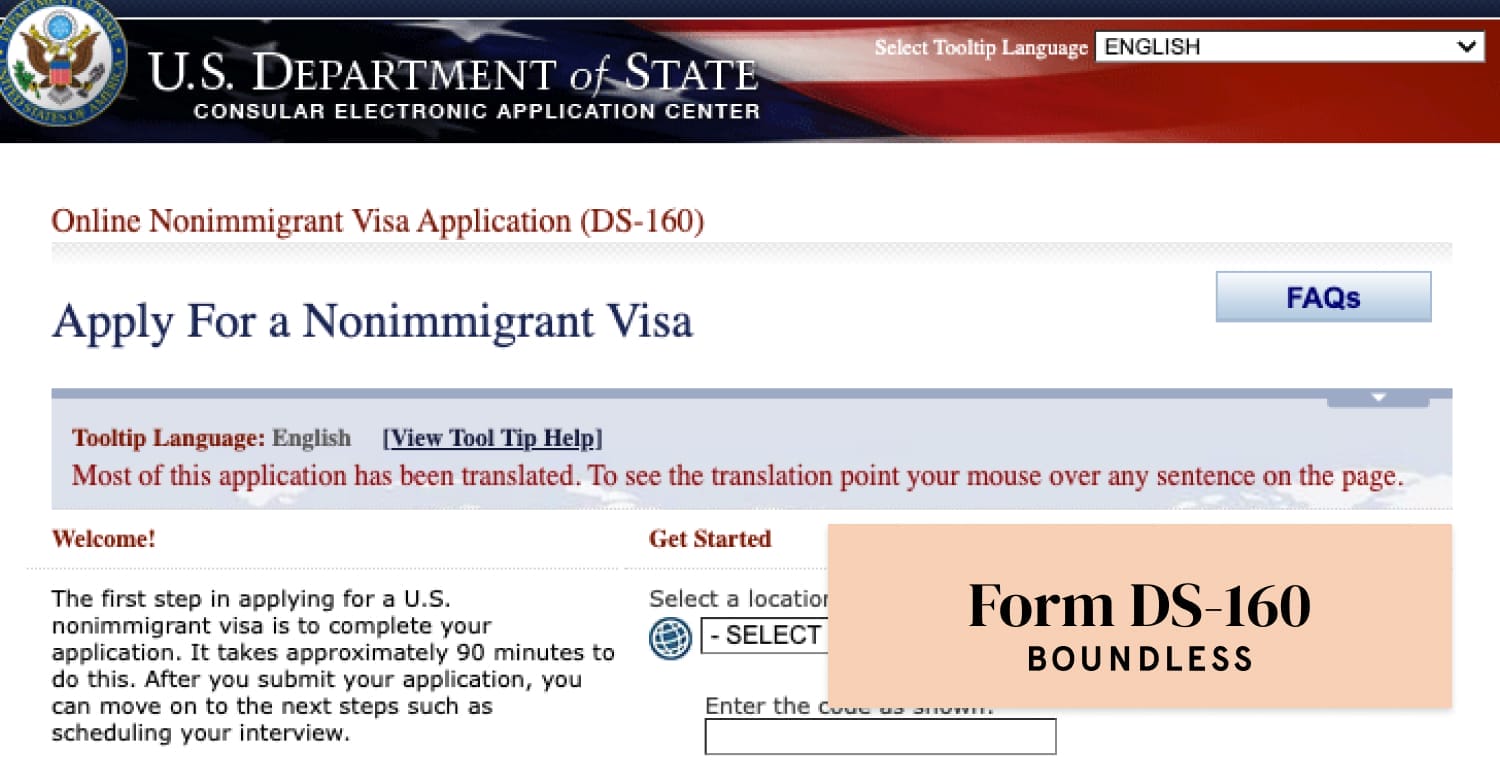
Form DS-160 must be filled in and filed online on the Consular Electronic Application Center (CEAC) website. CEAC is a Department of State online application center where applicants can submit forms, fees, and documents. There is no paper version of Form DS-160. You can view a sample Form DS-160 to help you prepare, but you must still complete the online version. The government estimates that it will take roughly 90 minutes to complete the form.
You can save your progress as you complete Form DS-160, and return to it later as long as you complete the process within 30 days. You can also save your DS-160 to your computer’s hard drive and upload it again when you’re ready to continue.
If you’re completing multiple DS-160s for your family, you can create a family application that will automatically fill in some details for each family member. To do this, first, complete one DS-160. On the “Thank You” page that follows the confirmation page, you’ll see an option to create a family application. Remember, while this will automatically complete some parts of the DS-160 for each family member, everyone still needs their own individual DS-160.
Getting started
To fill out Form DS-160, you will begin by choosing the location where you’re applying for your visa. Don’t worry too much about this: if you have to travel unexpectedly while your application is pending, you’ll be able to schedule your interview at whatever embassy or consulate is most convenient, even if it’s in a location other than the one you first chose.
On the next page, you will see your Application ID. You will also be asked to provide the answer to a security question. Write these down and keep them safe: together, they will let you access your application again later.
You can also find your Application ID on the top right corner of each page of the DS-160. If you forget your Application ID, you can retrieve it online using your security question.
Remember that your saved Form DS-160 will only remain available for 30 days. If you need more time, you can download your DS-160 to your computer and upload it again later.
Now, let’s go through Form DS-160 section by section.
-
Part 1: Personal Information
In the first part of Form DS-160, you will provide personal information such as your name, date of birth, and marital status.
You will also be asked for your nationality, your passport or national identification number(s), and your U.S. social security number or taxpayer ID number, if you have them
-
Part 2: Travel Information
In this section, you will explain your travel plans, including the purpose of your trip to the United States, your dates of arrival and departure, and the U.S. address at which you will stay. If you don’t have specific plans, you can provide estimated dates.
-
Part 3: Travel Companions
Here, you can fill in the details of anyone traveling with you. This might include family, friends, or members of an organized tour group. You don’t need to include work colleagues traveling with you. Either way, remember that everyone who travels still needs their own Form DS-160.
-
Part 4: Previous U.S. Travel
Next, you will be asked if you have ever visited the United States before. If you have, you’ll need to provide dates and details.
You’ll also need to indicate if you’ve ever been denied a U.S. visa, or if you’ve ever filed an immigrant petition with U.S. Citizenship and Immigration Services (USCIS).
-
Part 5: Address and Phone Number
This section is straightforward: simply enter your current address, phone number, and email address. You can enter an alternate mailing address if you wish.
You will also be asked to list all the social media accounts you’ve used over the past 5 years. You don’t need to provide passwords, but you should list all the “handles” or user IDs you’ve used on sites like Twitter and Facebook. This is a recent addition to the DS-160, with USCIS officials now required to check your social media activity while reviewing your application.
-
Part 6: Passport Information
On this page, you will be asked for your passport information. You may be asked for a “Passport Book Number,” sometimes also called an “inventory control number.” Not all passports have this number, so if your country doesn’t use them just check “Does Not Apply.”
You will also be asked if you have ever had a passport lost or stolen. If you have, you’ll have to supply further details.
-
Part 7: U.S. Point Of Contact
In this section, you’ll list a person in the United States who knows you and can verify your identity. If you don’t yet know anyone in the United States, don’t worry — you can simply submit the name of any business or organization you intend to visit during your trip.
-
Part 8: Relatives
Next, you will provide basic details about your father and mother. You may also be asked to provide details of any family members currently in the United States.
If you are married, you will also be asked for your spouse’s name, date of birth, nationality, and home address.
-
Part 9: Work, Education, and Training
In this section, you will fill in the details about your occupation, educational background, and employment history going back 5 years.
You will also be asked for your travel history, and for details about any special skills you possess, or any military groups, charities, or professional organizations of which you have been a member.
-
Part 10: Security and Background Information
Here, you will answer “yes” or “no” to 25 questions on security and background issues. Make sure you read these questions carefully and take care when answering, as mistakes here could adversely affect your application.
-
Part 11: Applicant Photo
You will need to upload a photo of yourself that conforms to U.S. Department of State guidelines. Once you’ve uploaded the photo you’ll be able to adjust the size and crop the image to make sure it fits the requirements.
The photo you submit when you file your DS-160 isn’t a substitute for the passport-style photo required for many visa applications. You will still need to bring a printed photograph to your visa interview.
-
Part 12: Review, Confirm Location, Sign, and Submit
Almost done! You will now be asked to review the entire form. This is the last opportunity to check whether your answers are accurate. You will then be asked to confirm the location from which you are applying so that your application can be sent to the appropriate U.S. embassy or consulate. Finally, you will be asked to read some terms and conditions, and then submit the form.
After submitting the form, you will click “next” to access your official confirmation page. You must print the confirmation page and present it to consular officials at the time of your interview.
What happens next?
After filing Form DS-160, you will need to print the confirmation page. This will be required when you interview at the U.S. embassy or consulate. If you forgot to print your confirmation page when you first filled out DS-160, you can log in again using your Application ID and security question in order to print it out.
Your Form DS-160 will then be sent to the appropriate embassy or consulate for processing. You should check with your local embassy or consulate for information about how to schedule your visa interview. When you attend your interview, you’ll need to bring your DS-160 confirmation page with you, along with any other forms or documents required for your specific visa.
You can check the status of your DS-160 application at any time by visiting the U.S. Department of State website.
DS-160 FAQs
There is no fee to file Form DS-160. However, you will still need to pay the fees for the visa you’re applying for.
All individuals applying for a nonimmigrant visa to the United States are required to complete Form DS-160. This includes applicants for tourist visas, business visas, student visas, and work visas.
You can access the DS-160 (Online Nonimmigrant Application Form) on the Consular Electronic Application Center (CEAC) website. You will need to create an account and login before you can begin filling out the form.
You will need your passport, travel itinerary, national ID number issued by your home country, dates for the last five trips you took to the U.S., employment history, and a photo that meets government requirements.
The amount of time it takes to complete Form DS-160 varies depending on the individual applicant. However, it is generally recommended that you allow at least one hour to complete the form.
You sign the DS-160 electronically by clicking the “Sign Application” button at the bottom of the form.
No, you are only required to bring your printed DS-160 confirmation page showing your application ID number to your interview.
Yes, you can print another copy of your DS-160 confirmation page on the CEAC website. Select the embassy or consulate at which you’re applying and click “Option C-Retrieve Application” on the Getting Starting page. Once you enter your Application ID number you will be able to view and print your confirmation page.
Yes, all individuals who are applying for a nonimmigrant visa to the United States are required to complete Form DS-160, regardless of whether they are applying for a new visa or a renewal of their existing visa